
How do I add sources to an assignment?
Please follow the steps below to create a new assignment or edit an existing one, add sources, and manage assignment settings for the best results. You can also track student source usage from your dashboard.
Step 1: Create a New Assignment
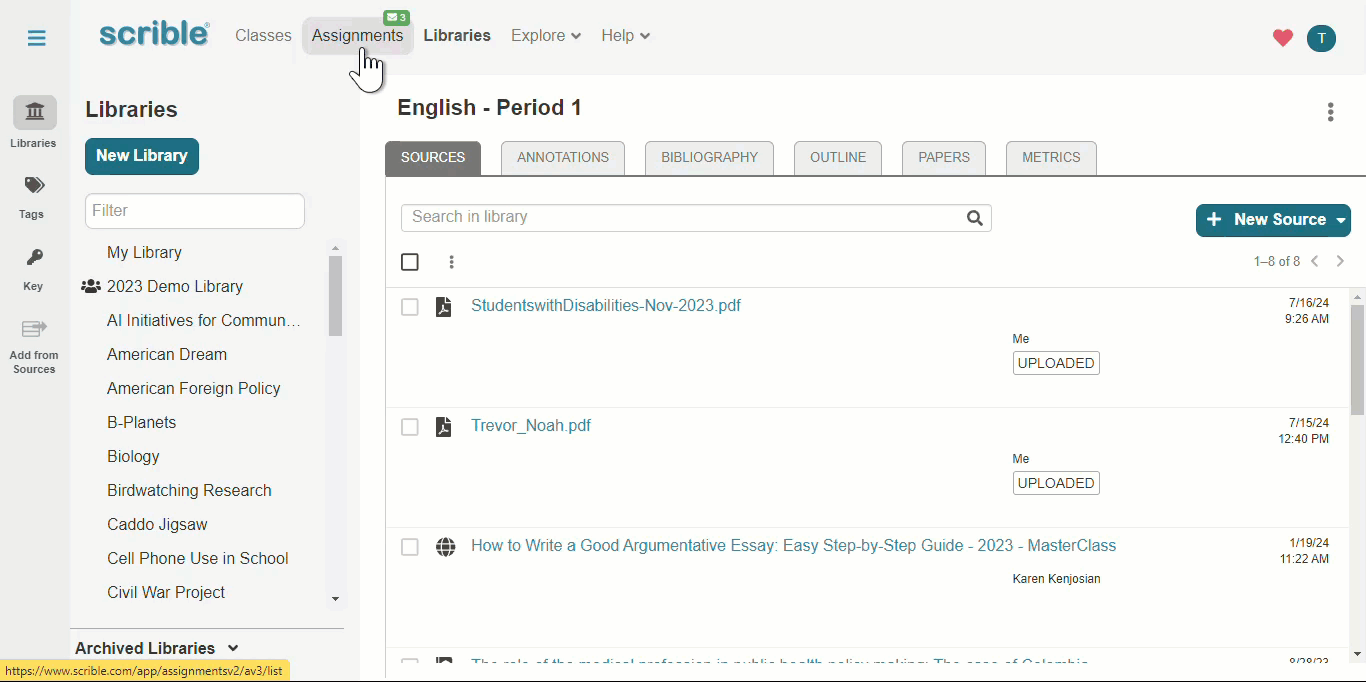
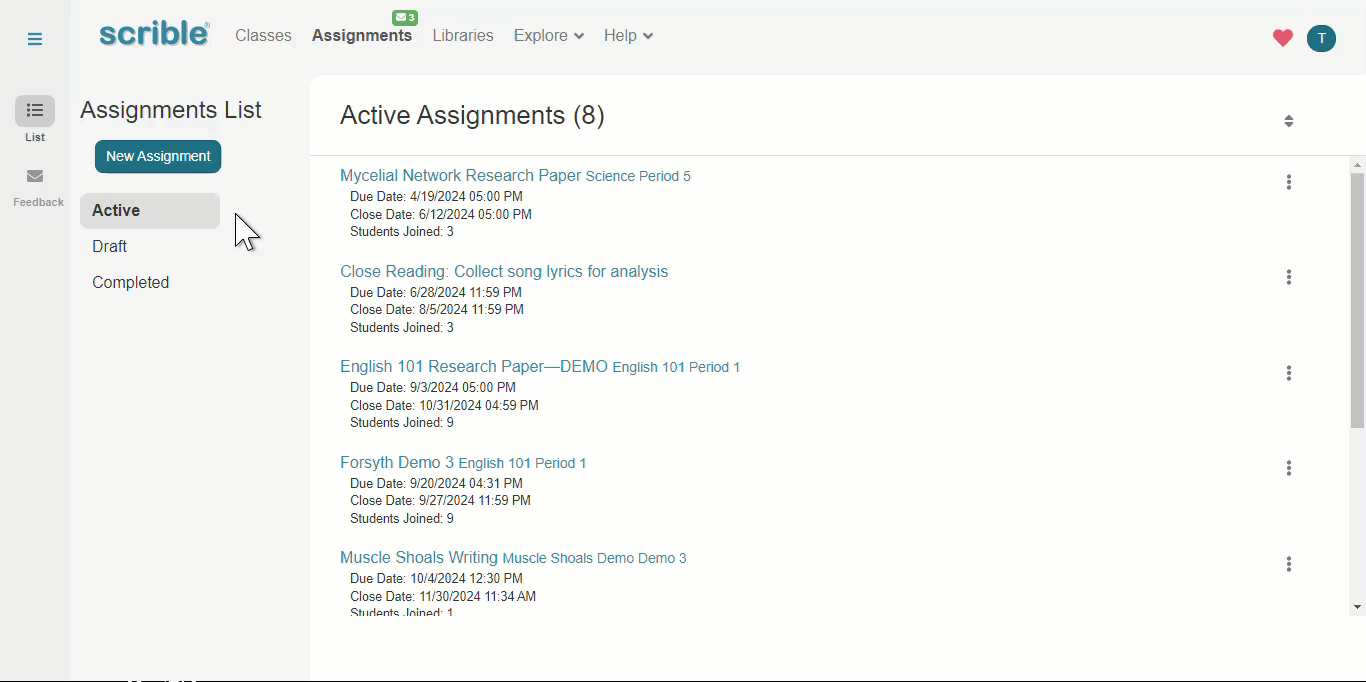
Go to the Assignments tab.
If you don’t see the assignment options, toggle the view using the hamburger icon or the list icon on the left to reveal the Assignments List.
Click the teal New Assignment button to create a new assignment.
Complete the setup under the Basics tab by filling in the assignment title, instructions, and due/close dates.
Step 2: Edit an Existing Assignment
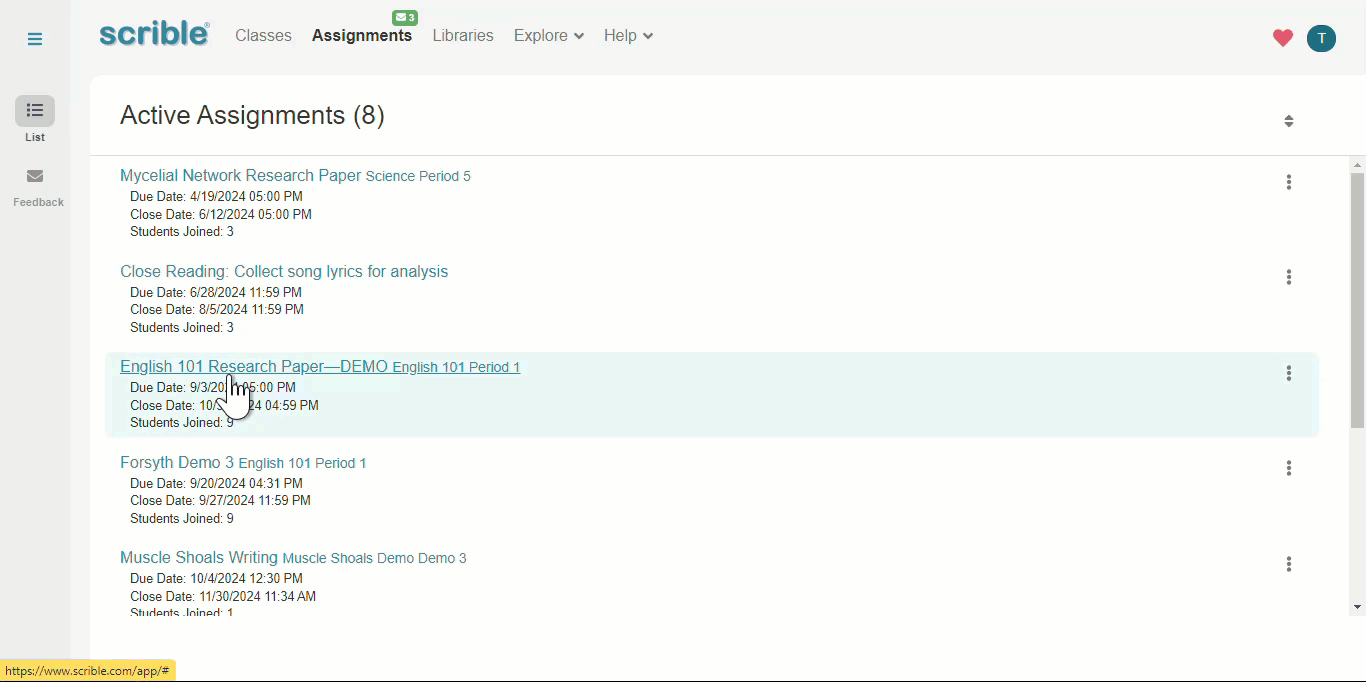
To edit an existing assignment, go to either the Active or Draft section within the Assignments tab.
Hover over the assignment you want to modify, click the
 icon, and then select Edit from the options.
On the Edit Assignment page, navigate to the Requirements tab.
Under the Sources sub-tab, check the box next to Include Sources to add sources to the assignment.
Step 3: Add Sources to the Assignment
Under the Sources tab, click the + New Source button.
Choose from the dropdown to either:
- Add a source from a Scrible library: Pull from your existing sources.
- Add a bookmark: Add a bookmarked site, such as a subscription database or a recommended source for students to use.
The list of sources you’ve added will appear below the + New Source button. These sources will be included in each student's assignment library.

Step 4: Student Assignment Library
Any source added from your Scrible library will be copied into each student’s Assignment Library. Annotations, such as highlights and comments, will be preserved and visible to students.
- Example: If you've made highlights or added comments (e.g., questions) using the Scrible extension, these will be shared with your students.
Bookmarked sites can include recommended research sources or databases for student work.
Important: Sources cannot be removed once an assignment is distributed, as they become part of the student's assignment library. All annotations and comments will remain as they were at the time of distribution.
Adding sources can be especially helpful for younger students who need help finding credible sources. It allows them to focus on evaluating arguments and practicing annotations.
Step 5: Monitoring Student Progress via Assignment Settings
The settings for each assignment determine the metrics that appear on your assignment dashboard, allowing you to track class and individual student progress.
If you’ve set a required number of sources for the assignment, an educator's sources do not count toward that required number. Students will need to add additional sources to meet the requirement.
Even if the assignment doesn’t require a set number of sources, you can still track how many sources each student adds to their library.
- To do this, go to the Sources sub-tab under the Requirements tab and check the Set library source count requirement box. Set the minimum source count to 0 to monitor student progress without imposing a specific requirement.
Student Progress View
This is an example of what you can see as an educator regarding class and individual progress. For a more detailed explanation, please read "How Do I Track Student Work?"
Additional Resources
The Life Cycle of an Assignment (for Educators)
We value your feedback! Please share your suggestions or questions with us.
Thank you for using Scrible!

KRK 9/11/2024