
How to Enable and Disable Rese on Assignments
Rese is an AI-powered research assistant available within Scrible assignments. Teachers can enable or disable Rese for specific assignments to allow students access to AI-powered research support.
Steps to Enable Rese on an Assignment
Create the Assignment (see how)
Before publishing the assignment, complete the steps below.
If you have already published the assignment, locate the assignment, and click on the three dots. Choose the “Edit” option and follow the steps below.
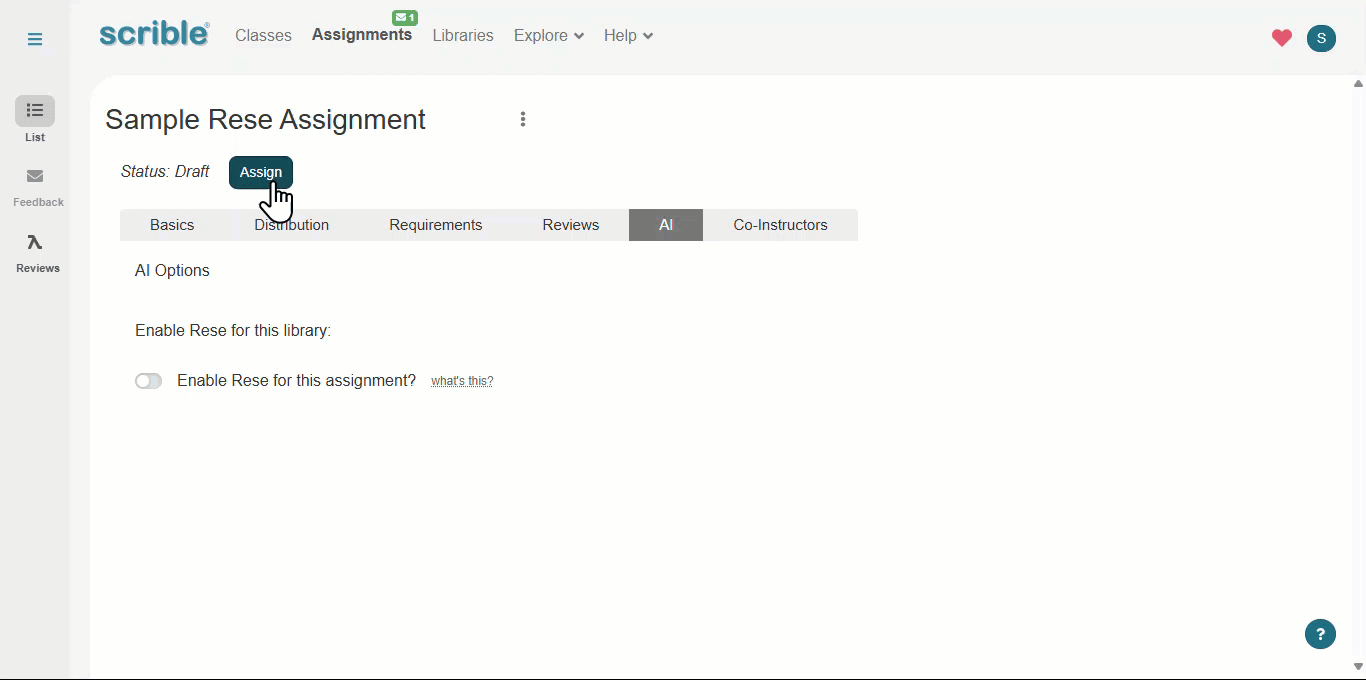
Enable Rese
Navigate to the AI tab.
Locate the "Enable Rese" option.
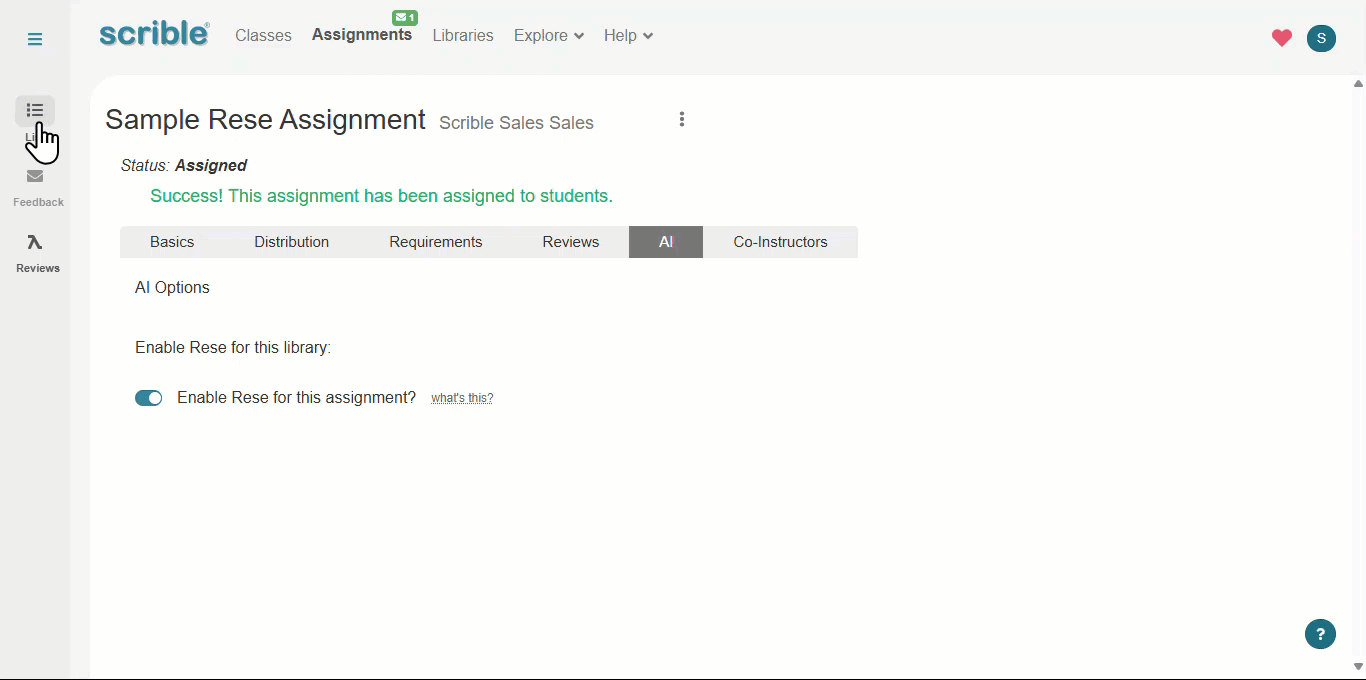
Toggle the setting to Enable.
Assign
Click the Assign button to distribute the assignment to your students.
Your students can now access Rese on this assignment.
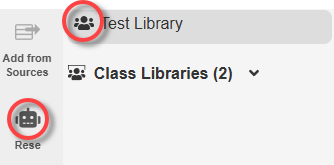
Library View
Your students' Rese-enabled library now displays two new icons below.
Initially, a spinner will display at the top of the Rese side panel to indicate that the library is being prepared for Rese usage.
When this completes, a checkbox will replace the spinner, signaling that Rese is fully enabled and ready to use.
Steps to Disable Rese on an Assignment
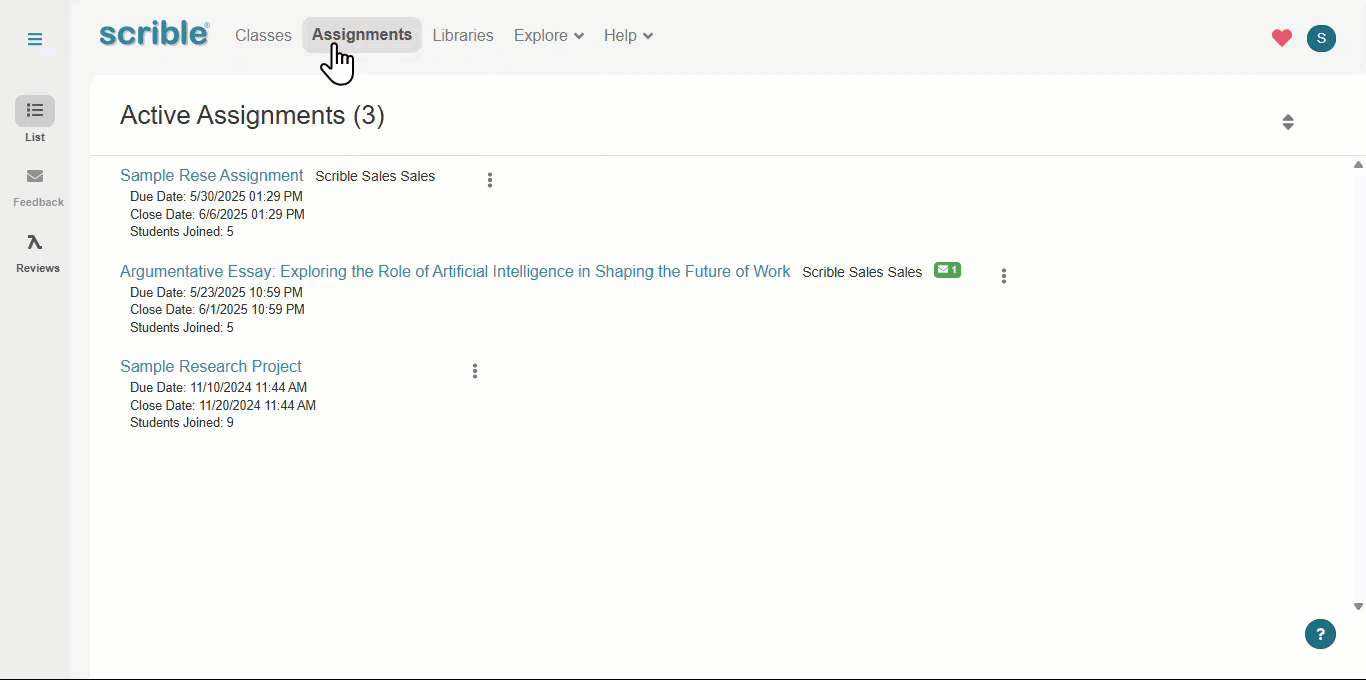
Go to the Assignments tab in your Scrible account.
Select the assignment you want to modify, then click on
 and select "Edit."
Navigate to the AI tab and locate the "Enable Rese" toggle. Switch it to Disable. Click
 to confirm.
Notes:
- Disabling Rese removes AI-powered assistance from the assignment.
- This does not affect other assignments where Rese is enabled.
Teacher Audits of Student Conversations
Teachers with Scrible Assignments enabled for Rese can monitor student interactions:
Navigate to the AI Audit tab in the Assignment Overview section.
Click on a student's name to view student queries and responses.
Navigate to a Conversation Heading and use the dropdown menus ► to view threaded conversations.
Troubleshooting
If Rese is not functioning after enabling, wait a few minutes for indexing to complete.
If the "Enable Rese" setting does not appear, ensure you have the necessary permissions.
For further support, contact the Scrible help team.
For more details on Rese functionality, visit our Getting Started with Rese guide.