
Creating Group Assignments
Group assignments in Scrible enable students to collaborate on research projects where team members share a single submission and work together in a unified workspace. This guide covers how to create a group assignment, configure groups using random assignment or manual organization, and understand how progress tracking works for collaborative projects.
Group assignments is an Edu Pro only feature.
Creating a Group Assignment
Creating a group assignment follows the same process as creating individual assignments, with one key difference: the distribution method. For complete details on configuring assignment basics, library setup, and other features, see the Creating an Assignment article.
Important Note:
Group Assignments must be created directly in Scrible. They cannot be created through Canvas or any other LMS.
To start creating a group assignment:
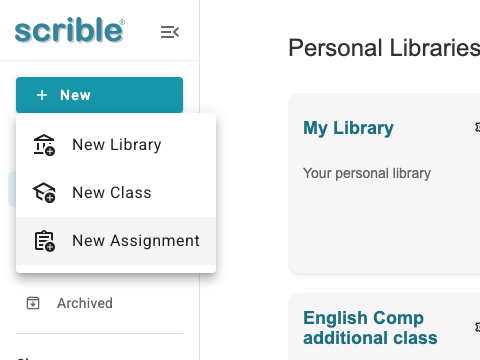
Click the + New button in the left sidebar
Select New Assignment from the menu
Fill in the assignment basics (title, description, due date, close date)
Configure library setup options as needed (sources, outline, bibliography, papers, rubrics)
Click Confirm & Next to advance to the Distribution step
Selecting Group Distribution
The distribution step is where you designate this assignment as a group project:
Expand the Assignment Distribution section
Click the Distribution info dropdown
Select Group - distribute by Class
Choose a class from the dropdown menu
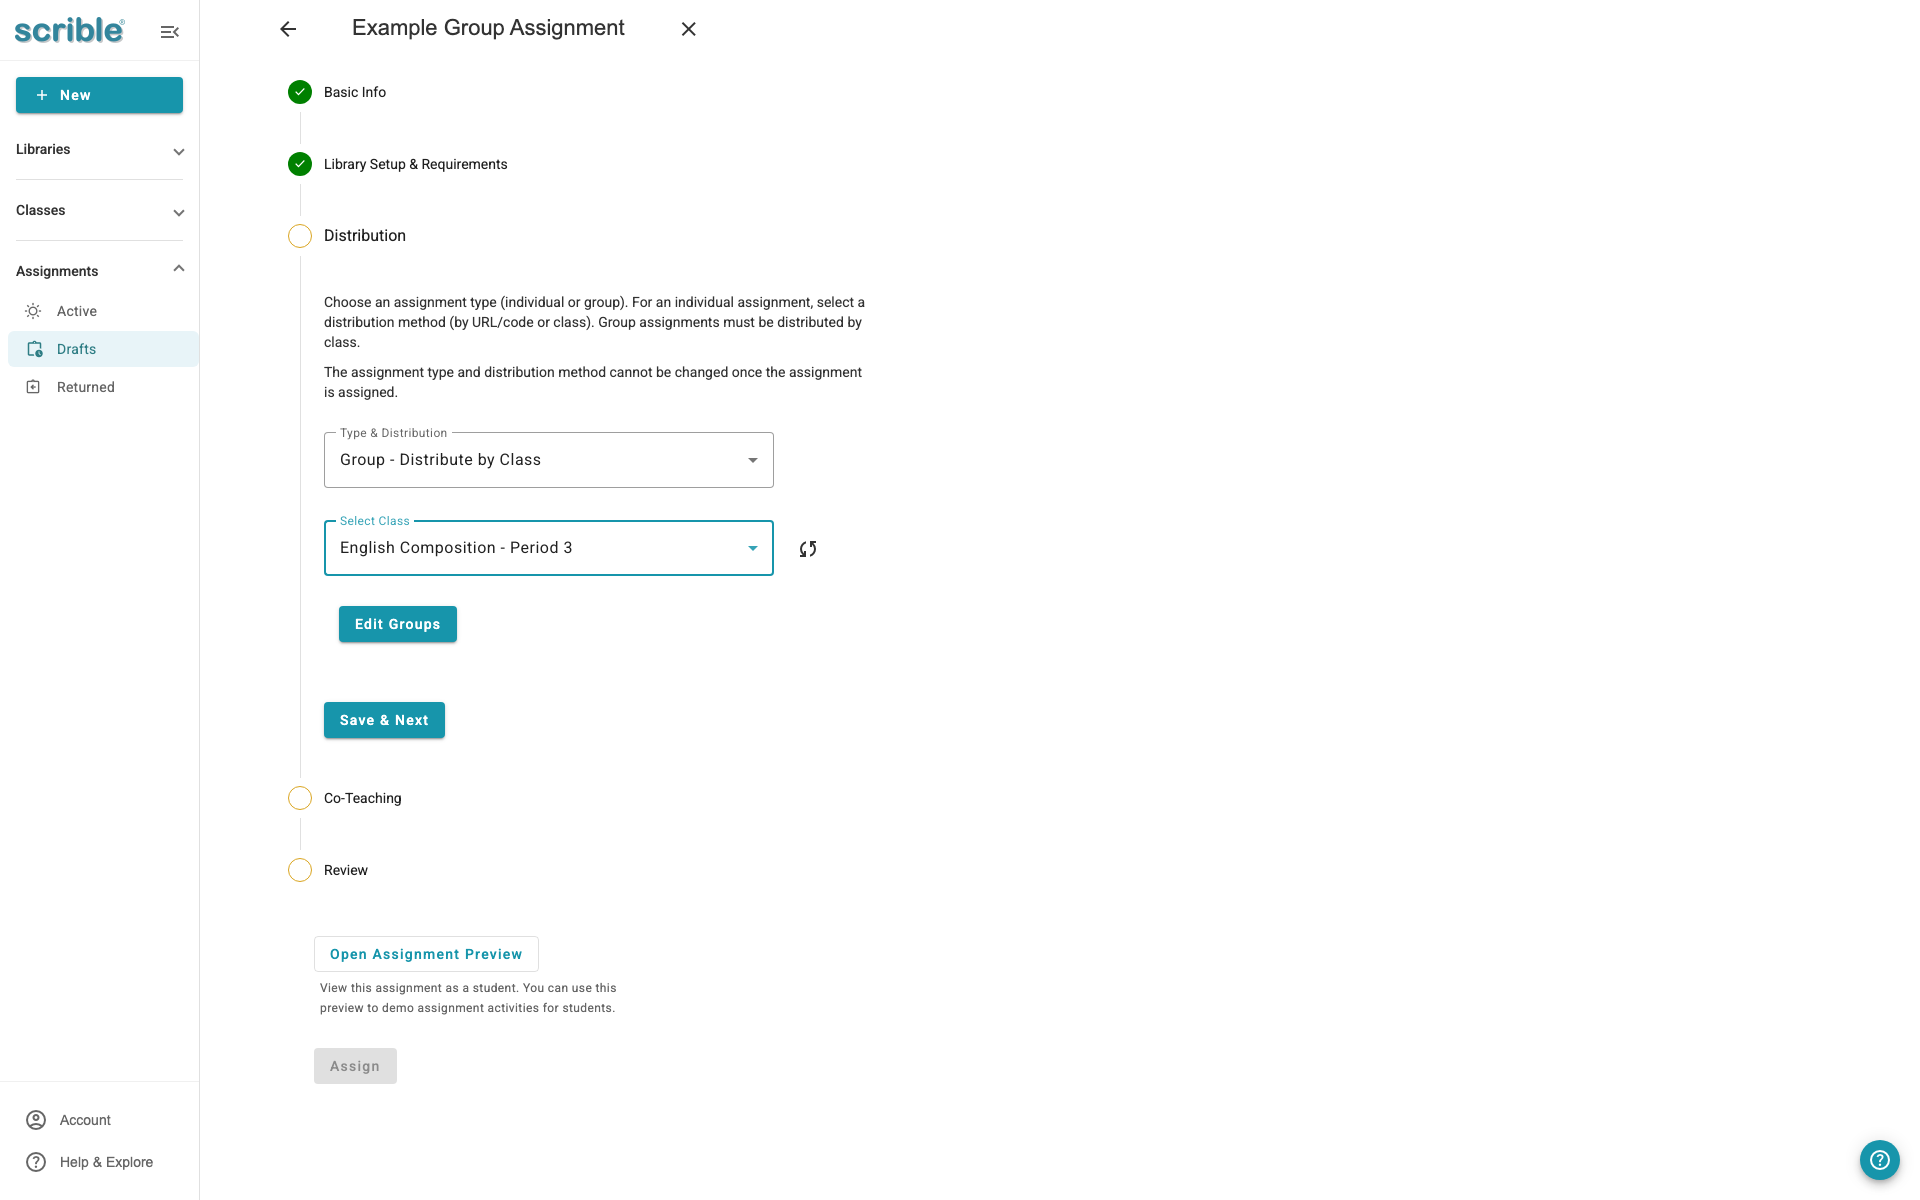
After selecting your class, the Edit Groups button will appear, allowing you to organize students into groups.
Organizing Students into Groups
Clicking Edit Groups opens the group editor, where you can create and manage student groups for the assignment.
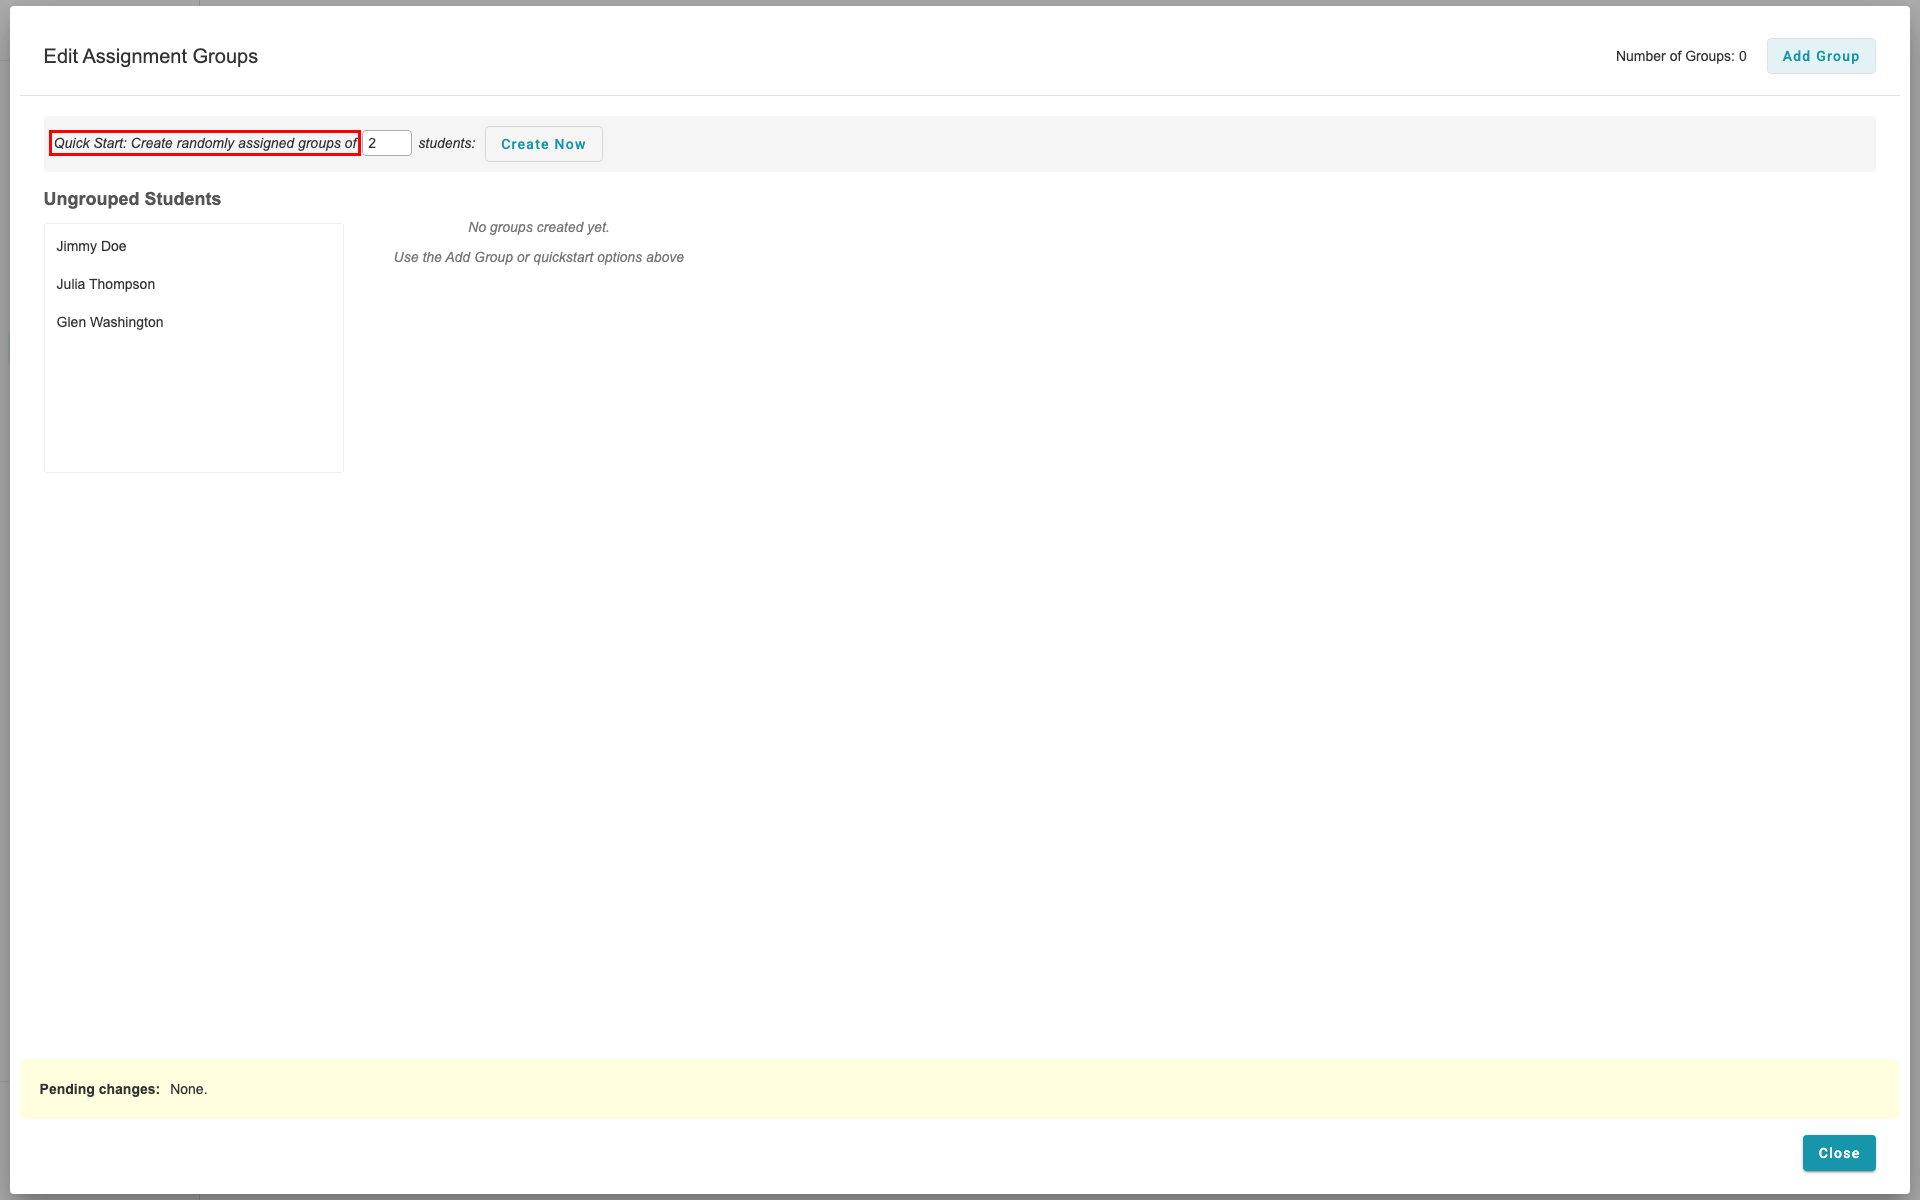
Quick Start: Random Assignment
The fastest way to create groups is using the Quick Start feature:
Locate the Quick Start: Create randomly assigned groups of section
Enter the desired group size (e.g., 2 students per group)
Click Create Now
The system will automatically distribute students evenly across groups.
Managing Groups After Creation
Once groups are created, you have several options to customize the organization:
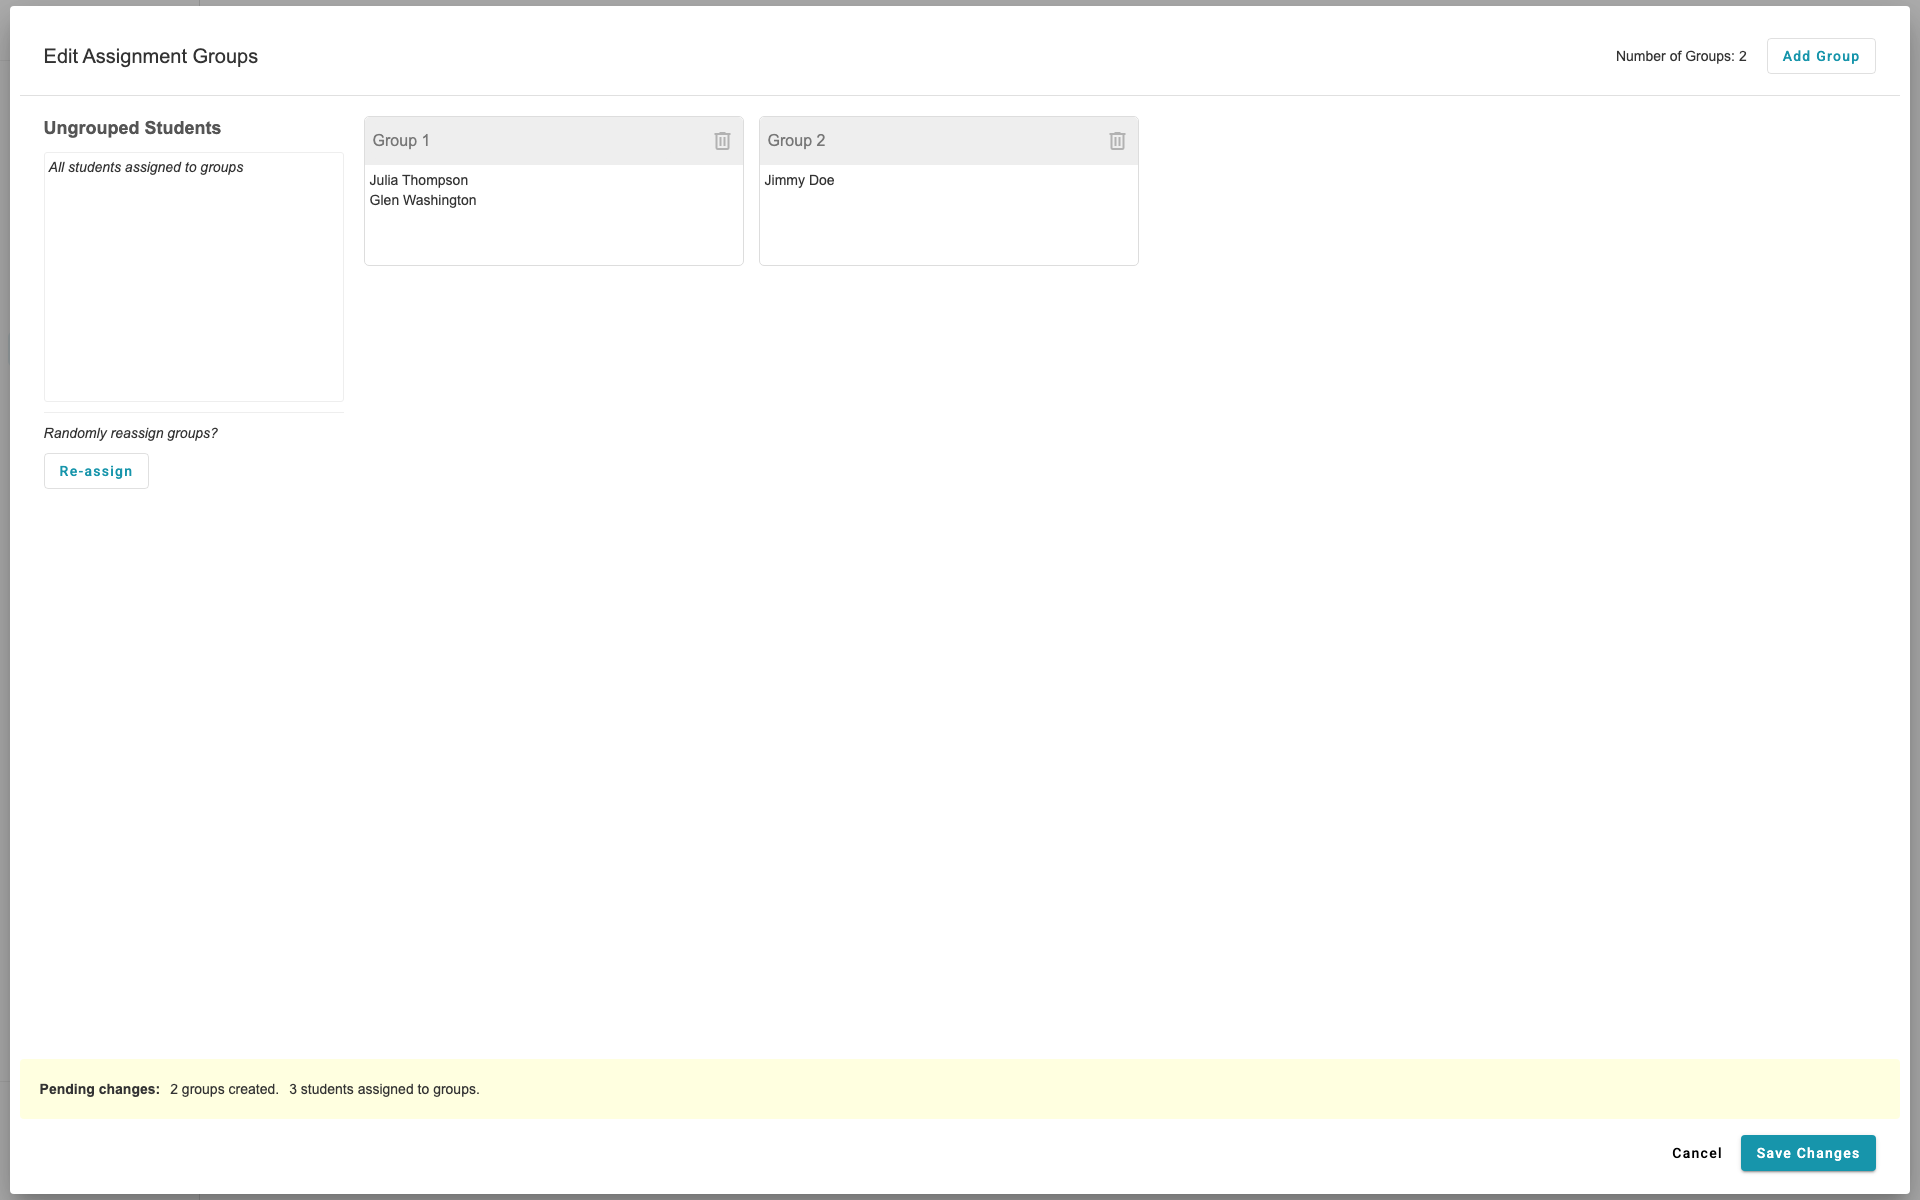
Randomly reassign groups: Click this button to shuffle students into different groups while maintaining the same group sizes.
Drag and drop students between groups: Click and drag a student's name to move them to a different group.
Drag and drop students to remove from groups: Drag a student outside of all groups to unassign them.
Add a new group: Click to create an additional empty group for manual student assignment.
Delete a group: Remove a group by first moving all students out of it, then clicking the delete option for that group.
Before saving: Check for any students not assigned to a group. Ensure all students are placed before clicking Save Changes.
Understanding Group Progress Tracking
In group assignments, all progress data aggregates at the group level rather than tracking individual student contributions. This means:
Sources, annotations, outlines, and documents are shared by the entire group
Progress metrics display collective advancement rather than individual completion
For detailed information about monitoring assignment progress and accessing analytics, refer to the Tracking and Analytics section in the Understanding Assignments article.
Tips
Start with random assignment: Use Quick Start to distribute students evenly, then adjust manually as needed.
Check unassigned students: Before saving groups, verify no students are left without a group assignment.
Editing groups after creation: [Can teachers modify group memberships after the assignment is created? This requires verification of the group editing workflow post-assignment creation.]