
Creating Classes
Classes in Scrible help you organize students, distribute assignments, and manage class libraries for different courses or sections. This guide shows you how to create classes using roster sync (Google Classroom, Office 365 Education, or Canvas) or by creating them manually in Scrible.
Creating Classes via Roster Sync
Roster sync automatically imports your classes from your learning management system and keeps student rosters up to date. You can connect Scrible to Google Classroom, Office 365 Education, or Canvas.
Setting Up Google Classroom Sync
To import classes from Google Classroom first you will need to authorize to Google from Scrible:
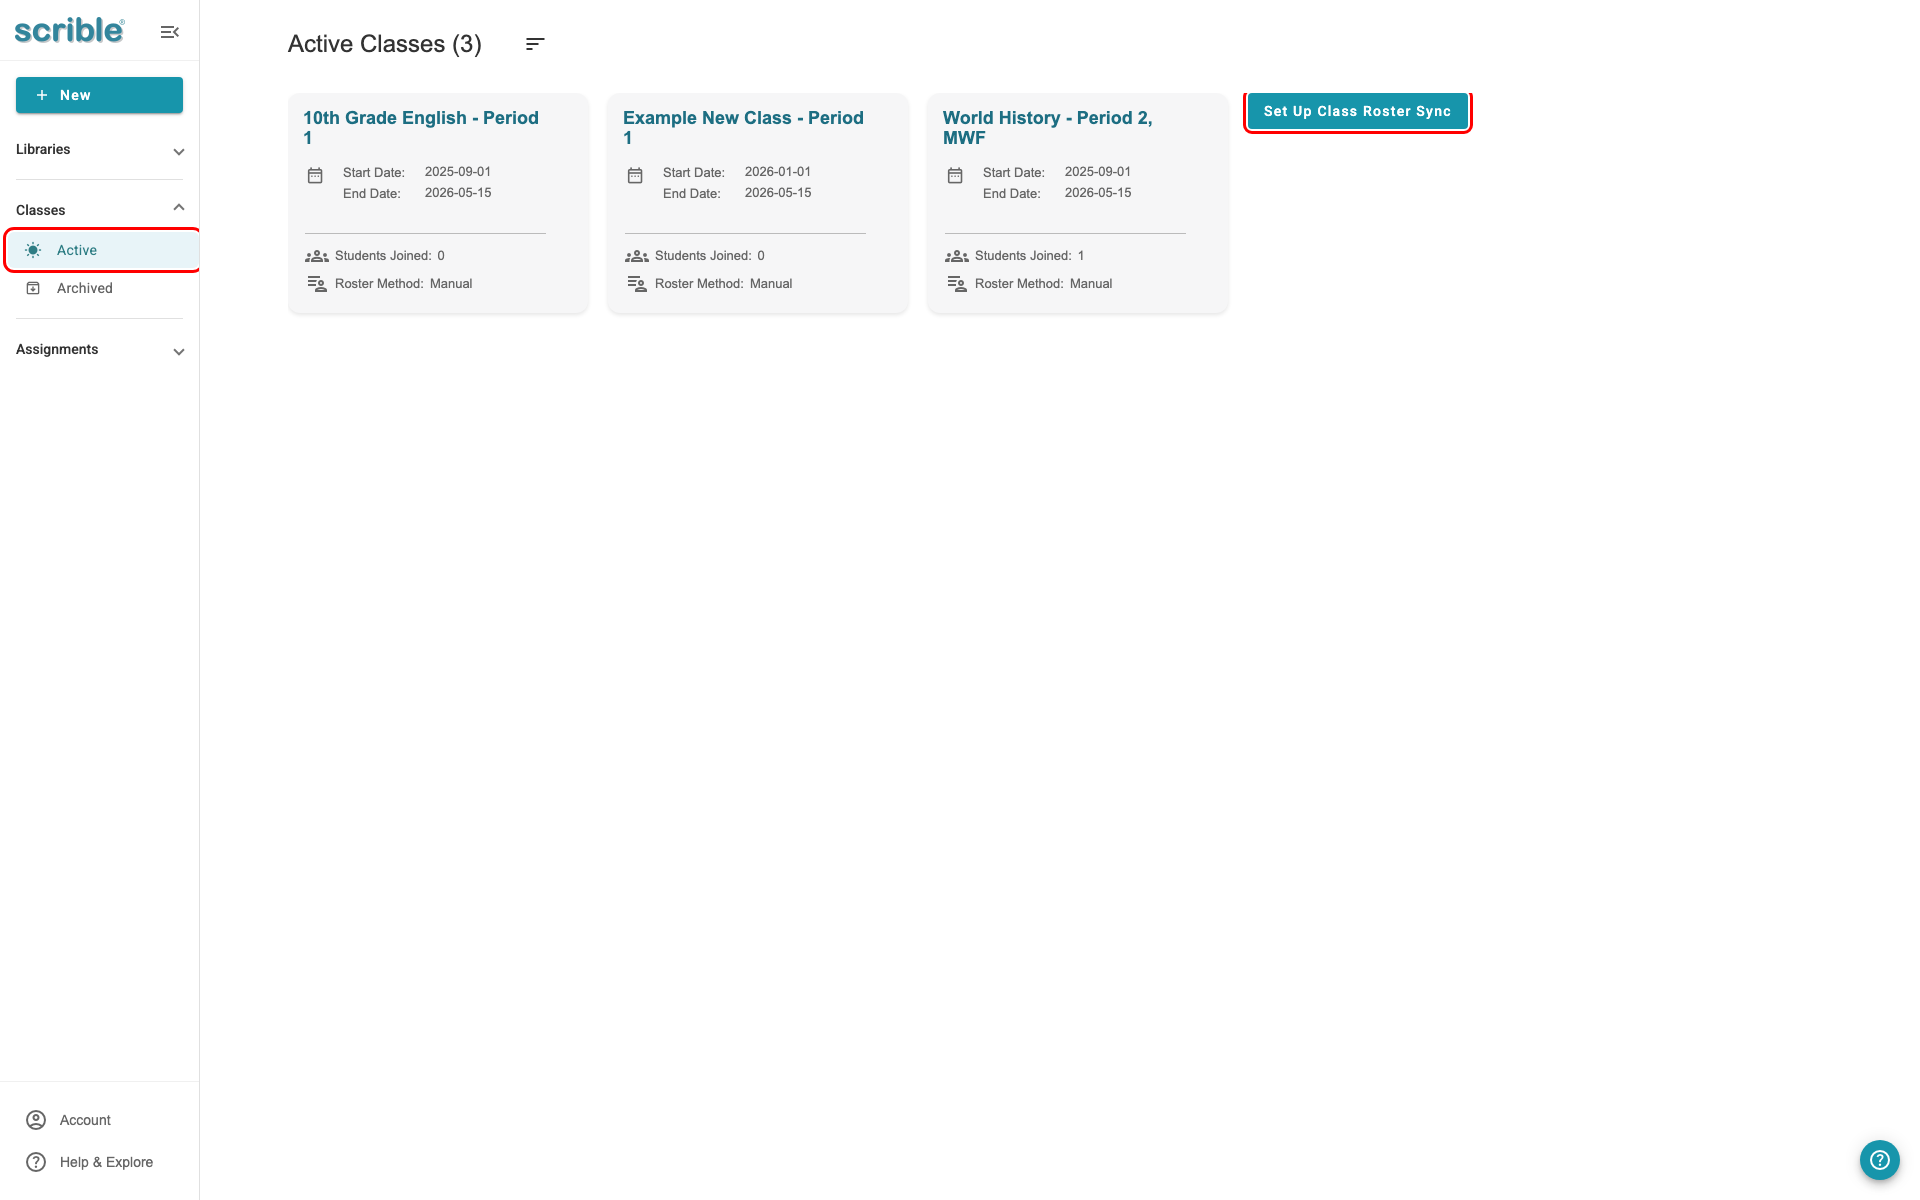
Click the Classes tab in the main navigation.
Click Active in the left sidebar.
Click Set Up Class Roster Sync.
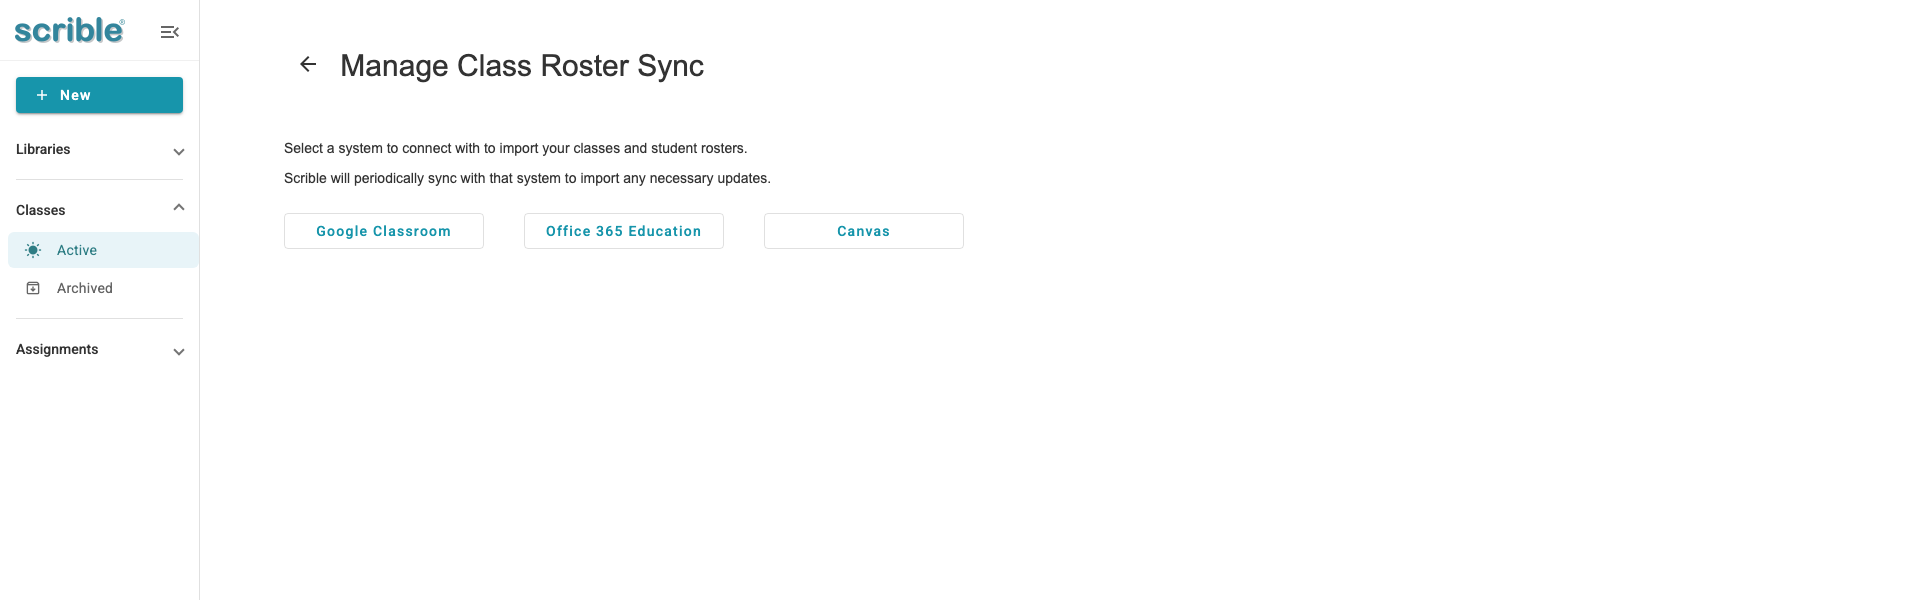
In the "Manage Class Roster Sync" view, click Google Classroom.
Click Connect and Authorize to begin the authorization process.
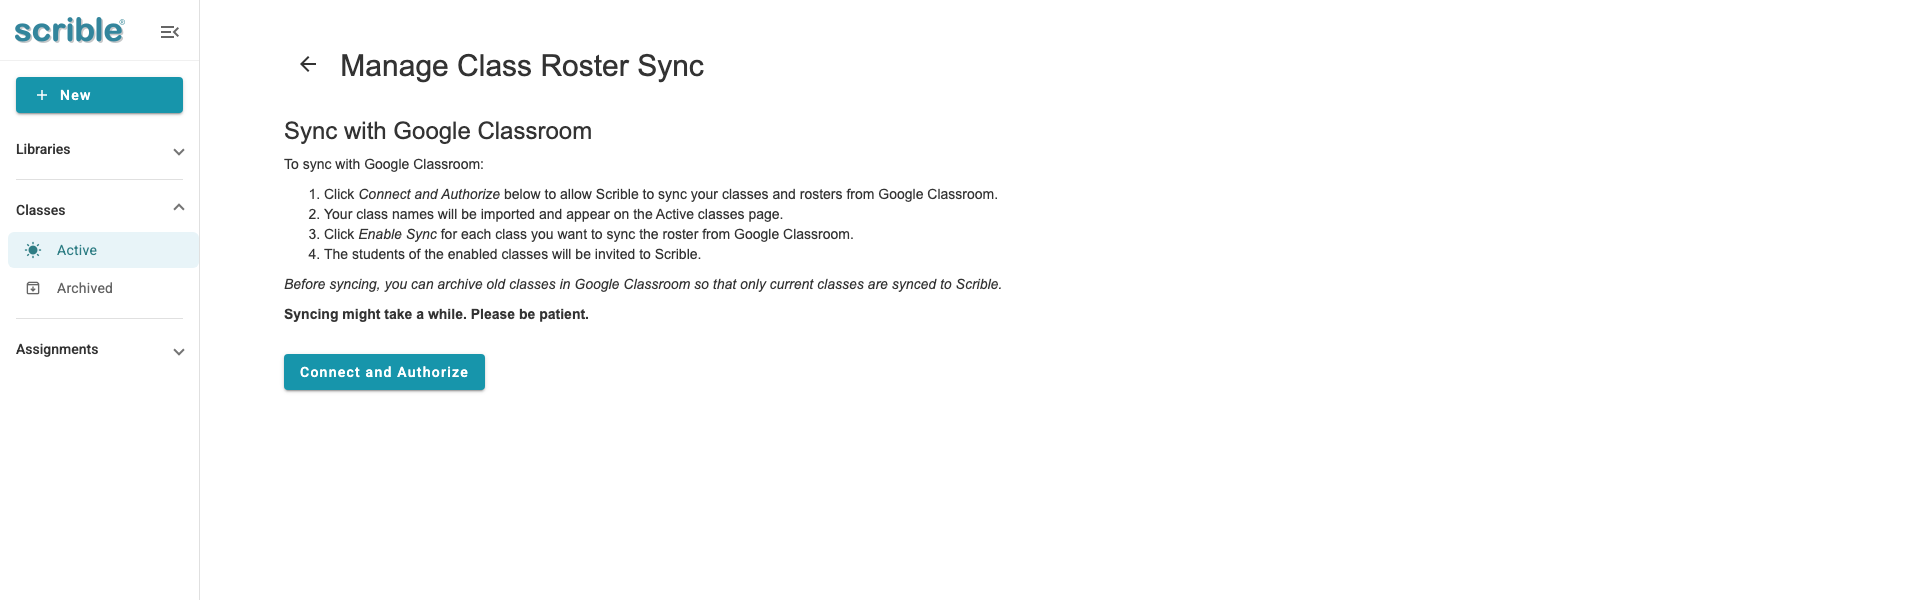
Follow the authorization prompts to connect your Google account.
After authorization completes, your Google Classroom classes will appear in your Active Classes list.
Setting Up Office 365 Education Sync
To import classes from Office 365 Education:
Click the Classes tab in the main navigation.
Click Active in the left sidebar.
Click Set Up Class Roster Sync.
In the "Manage Class Roster Sync" view, click Office 365 Education.
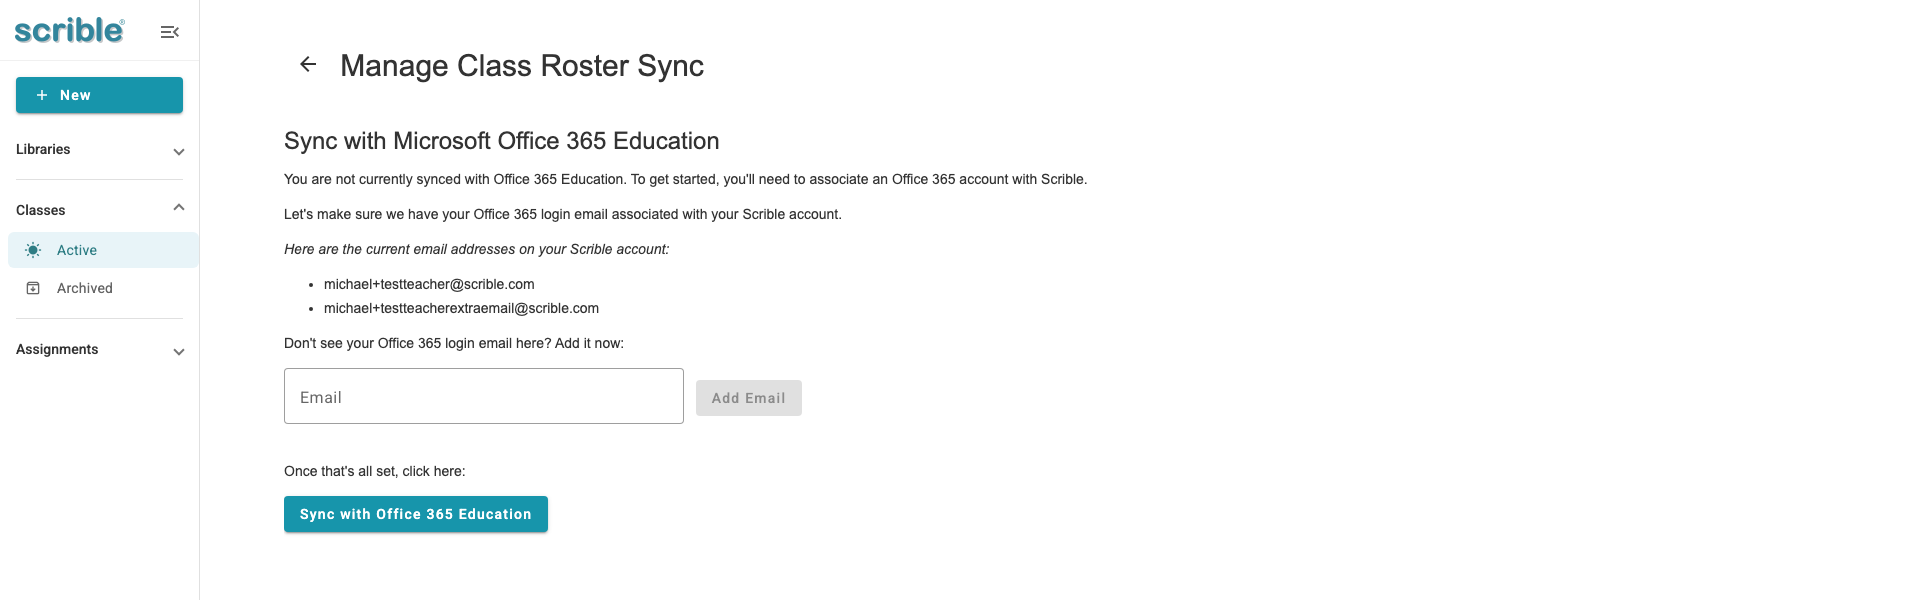
Follow the authorization prompts to connect your Office 365 account.
After authorization completes, your Office 365 classes will appear in your Active Classes list.
Canvas Integration
Scrible also supports roster sync with Canvas. The setup process is similar to Google Classroom and Office 365 Education—click Set Up Class Roster Sync, select Canvas, and follow the authorization prompts.
After Roster Sync Setup
Once you've set up roster sync, your Active Classes list shows your imported classes with roster status information:
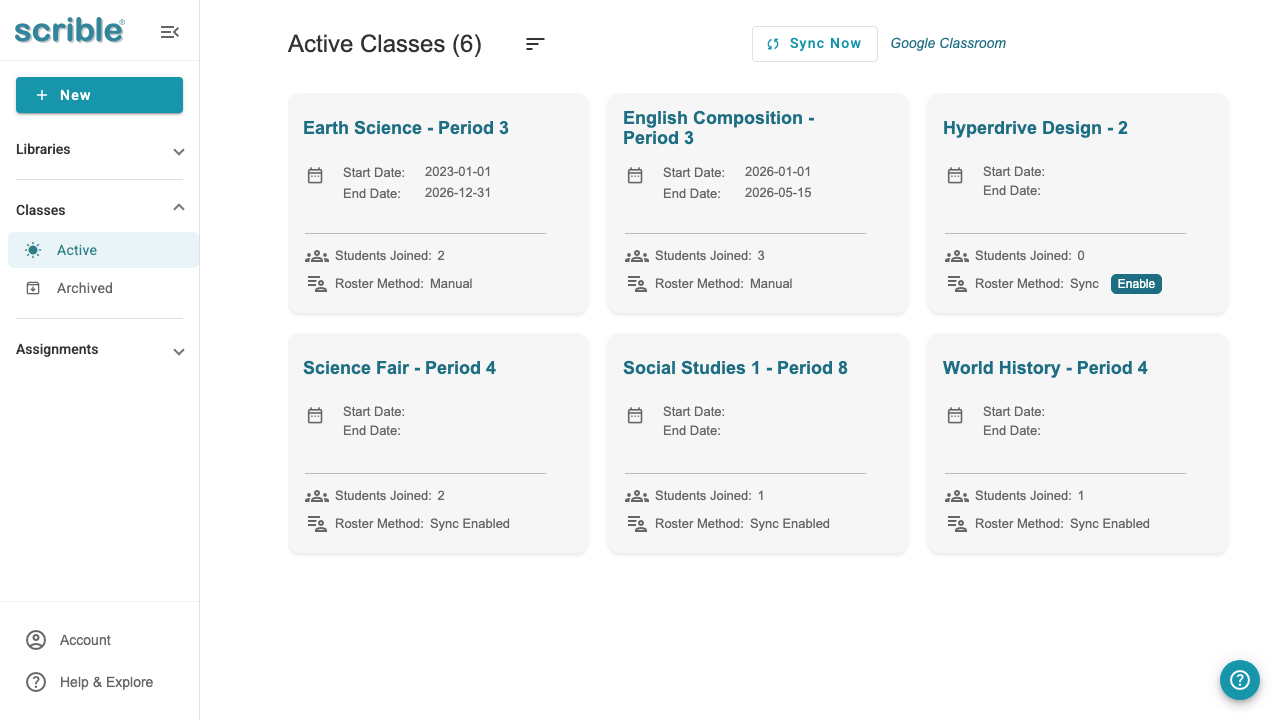
At the top of the page, you'll see:
Sync Now button: Click to refresh your class list from your learning management system and pull in any new classes you've created.
Google Classroom (or your connected learning management system name)
Each class card shows its roster method:
Roster Method: Manual: The class was created manually in Scrible and students are managed directly in Scrible.
Roster Method: Sync: The class was imported from your learning management system. Click the Enable button to sync the roster.
Roster Method: Sync Enabled: The class roster is synced with your learning management system and will update automatically.
To verify your integration is active, go to your account settings:
Click Account in the main navigation.
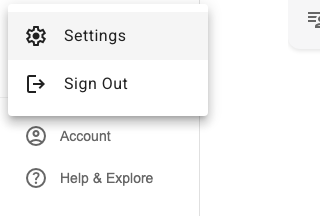
Click Settings.
Click Connected Applications.
You'll see your connected learning management system listed as authorized.
Key Differences: Roster-Synced vs. Manual Classes
Classes created through roster sync differ from manually created classes:
Roster-synced classes:
Student rosters are managed in your learning management system (Google Classroom, Office 365, or Canvas)
Roster updates in your learning management system automatically sync to Scrible
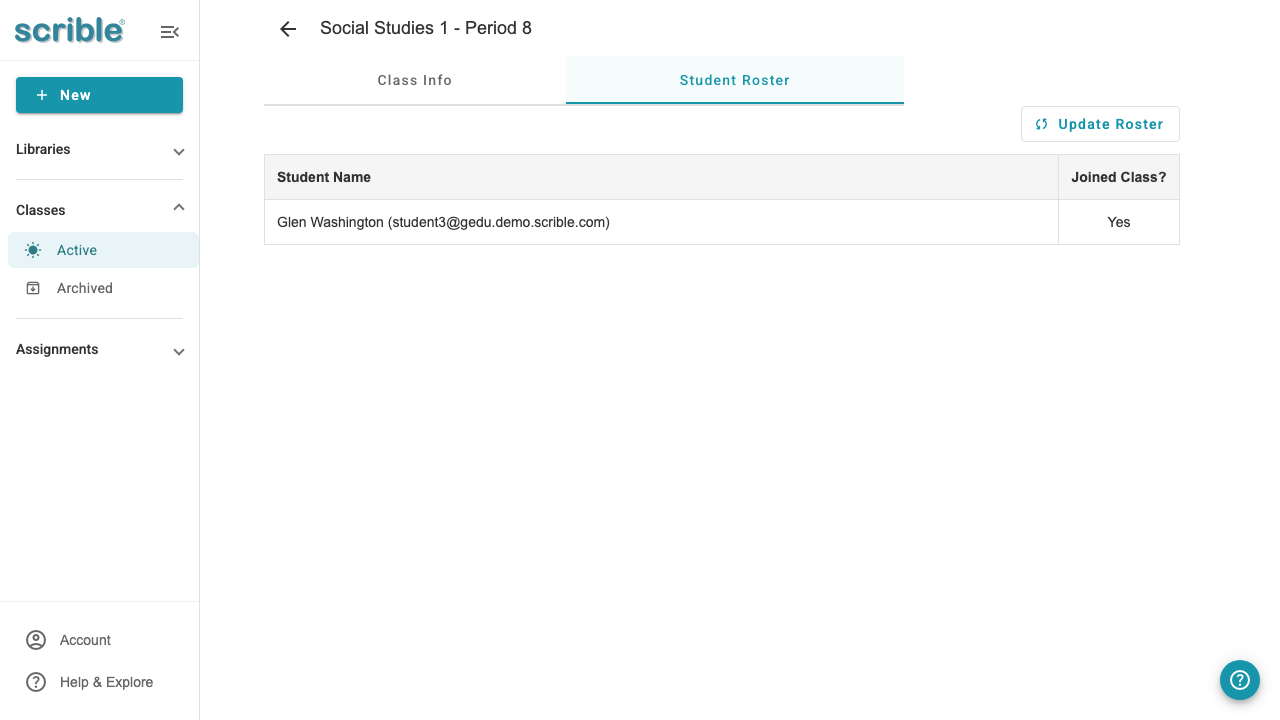
Class detail page has 2 tabs: Class Info and Student Roster
No Invite Students tab (students are controlled by your learning management system)
Use the Update Roster button to sync the latest roster information from your learning management system
Manual classes:
Student rosters are managed entirely in Scrible
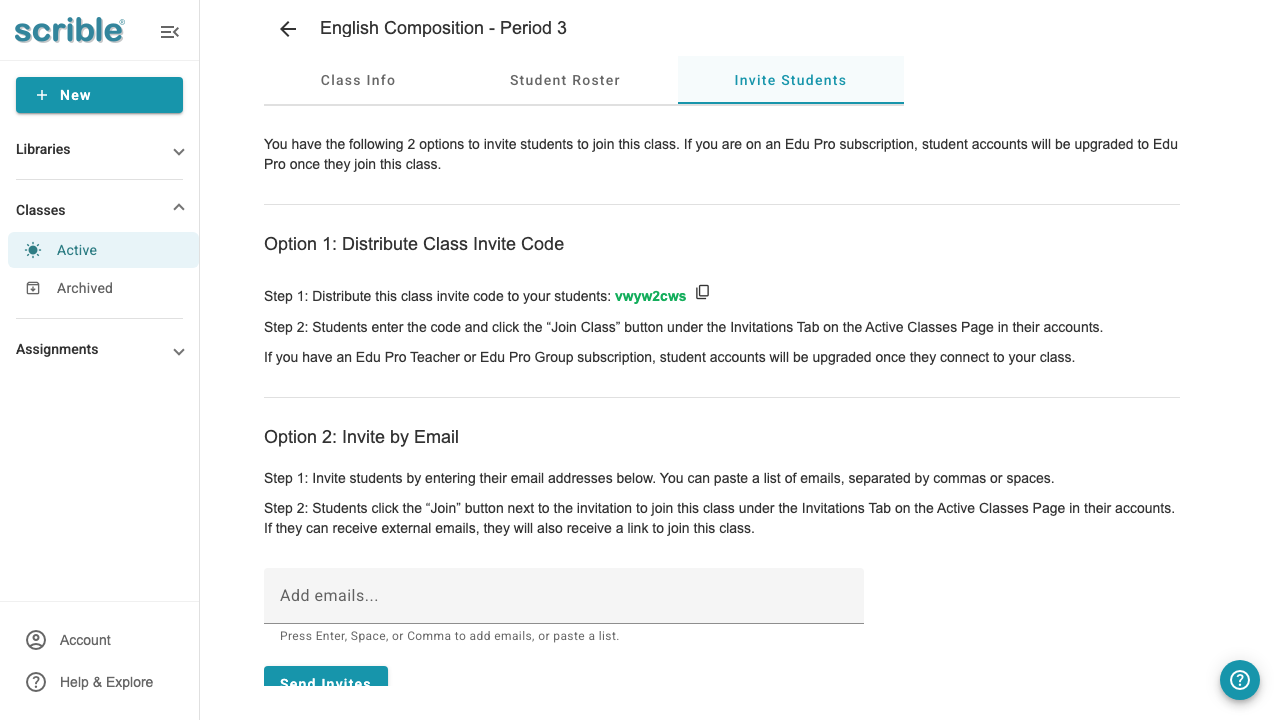
You invite students via email or class invite code
Class detail page has 3 tabs: Class Info, Student Roster, and Invite Students
Creating Classes Manually
If you don't use a learning management system or prefer to manage classes directly in Scrible, you can create classes manually.
To create a class manually:
Click New, then select New Class from the menu.
-
Fill in the class information:
Class Name: The name of your course (e.g., "Example New Class")
Section Name: The specific section (e.g., "Period 1")
Description: Optional details about the class
Term Start Date: When the class begins
Term End Date: When the class ends
Subscription: Select which subscription to use for this class
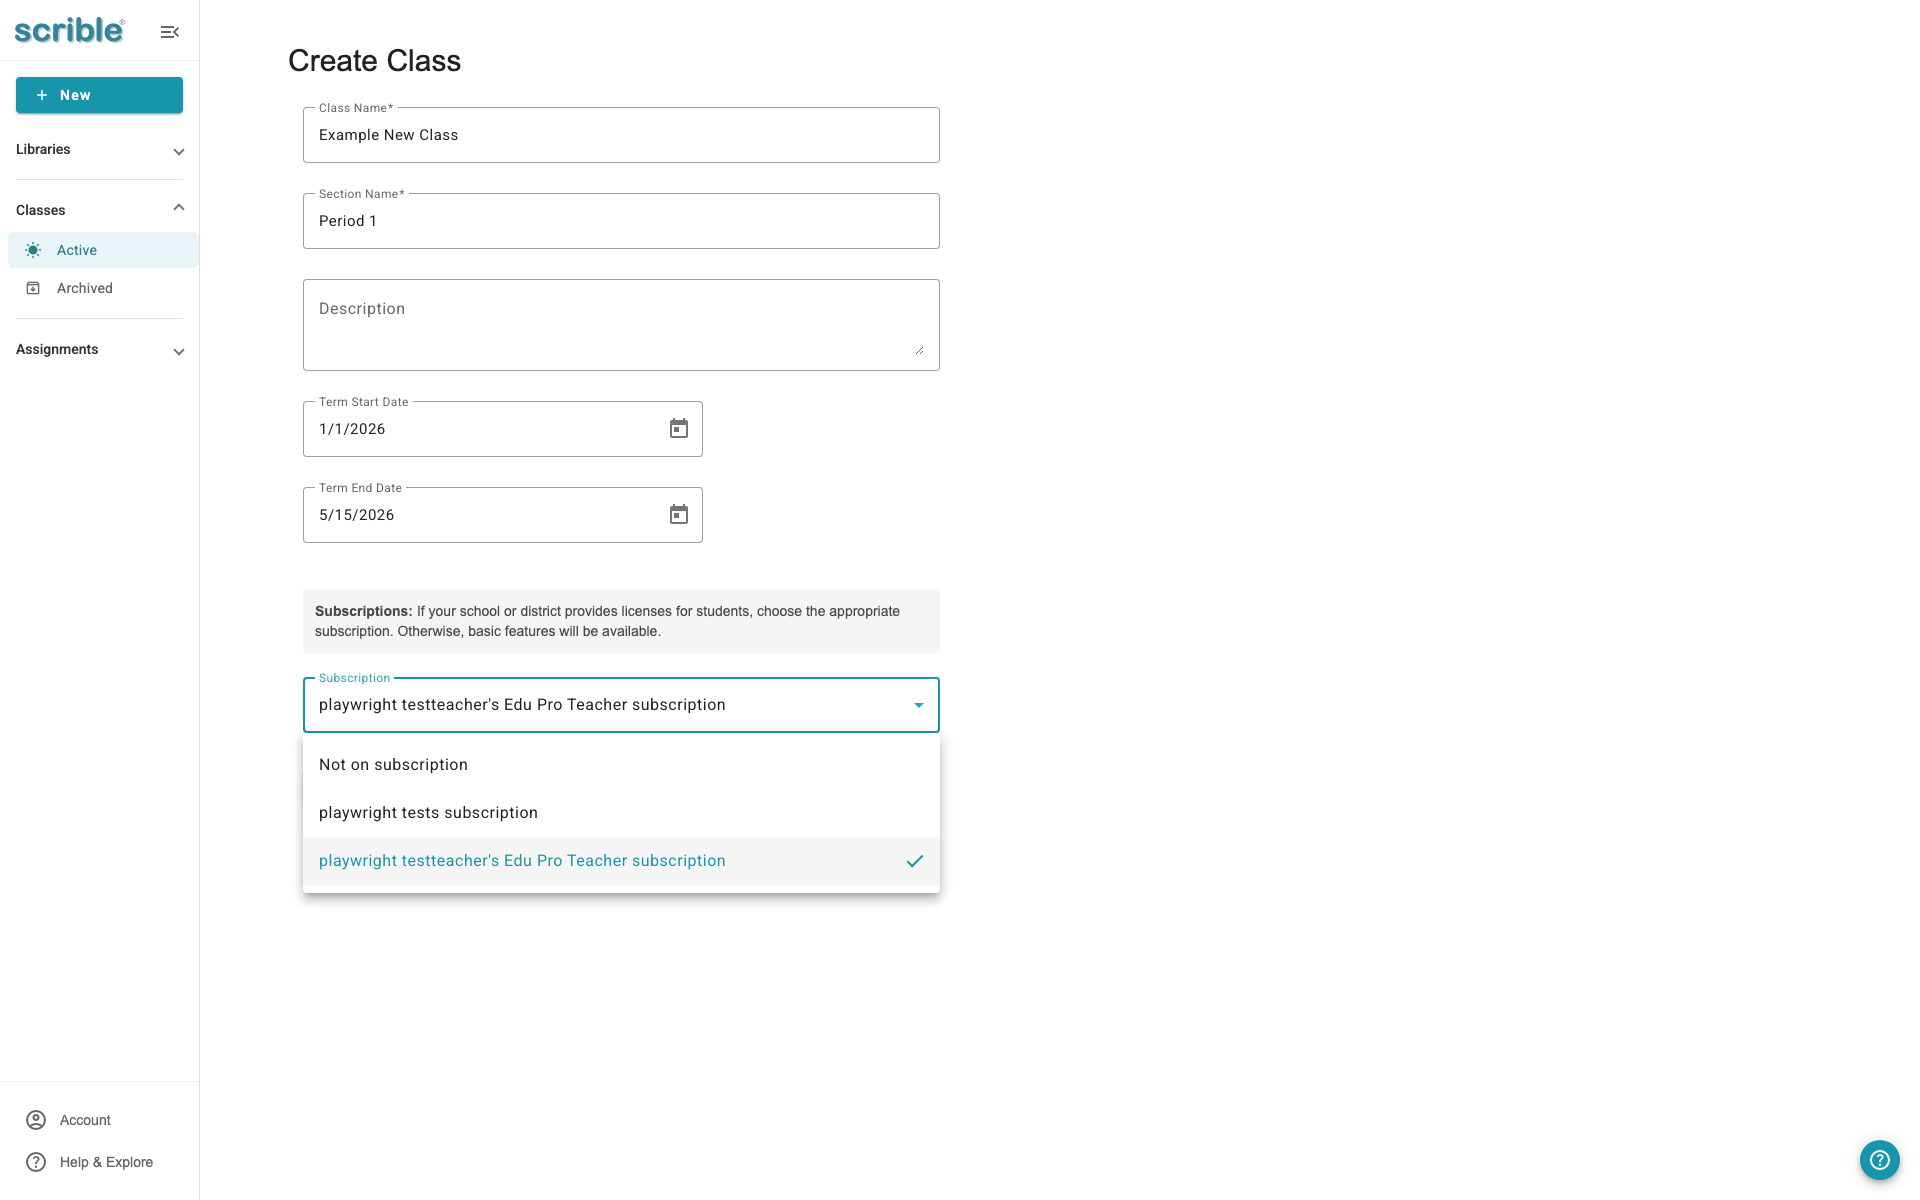
Click Create Class.
After creating the class, you'll see the class details page:
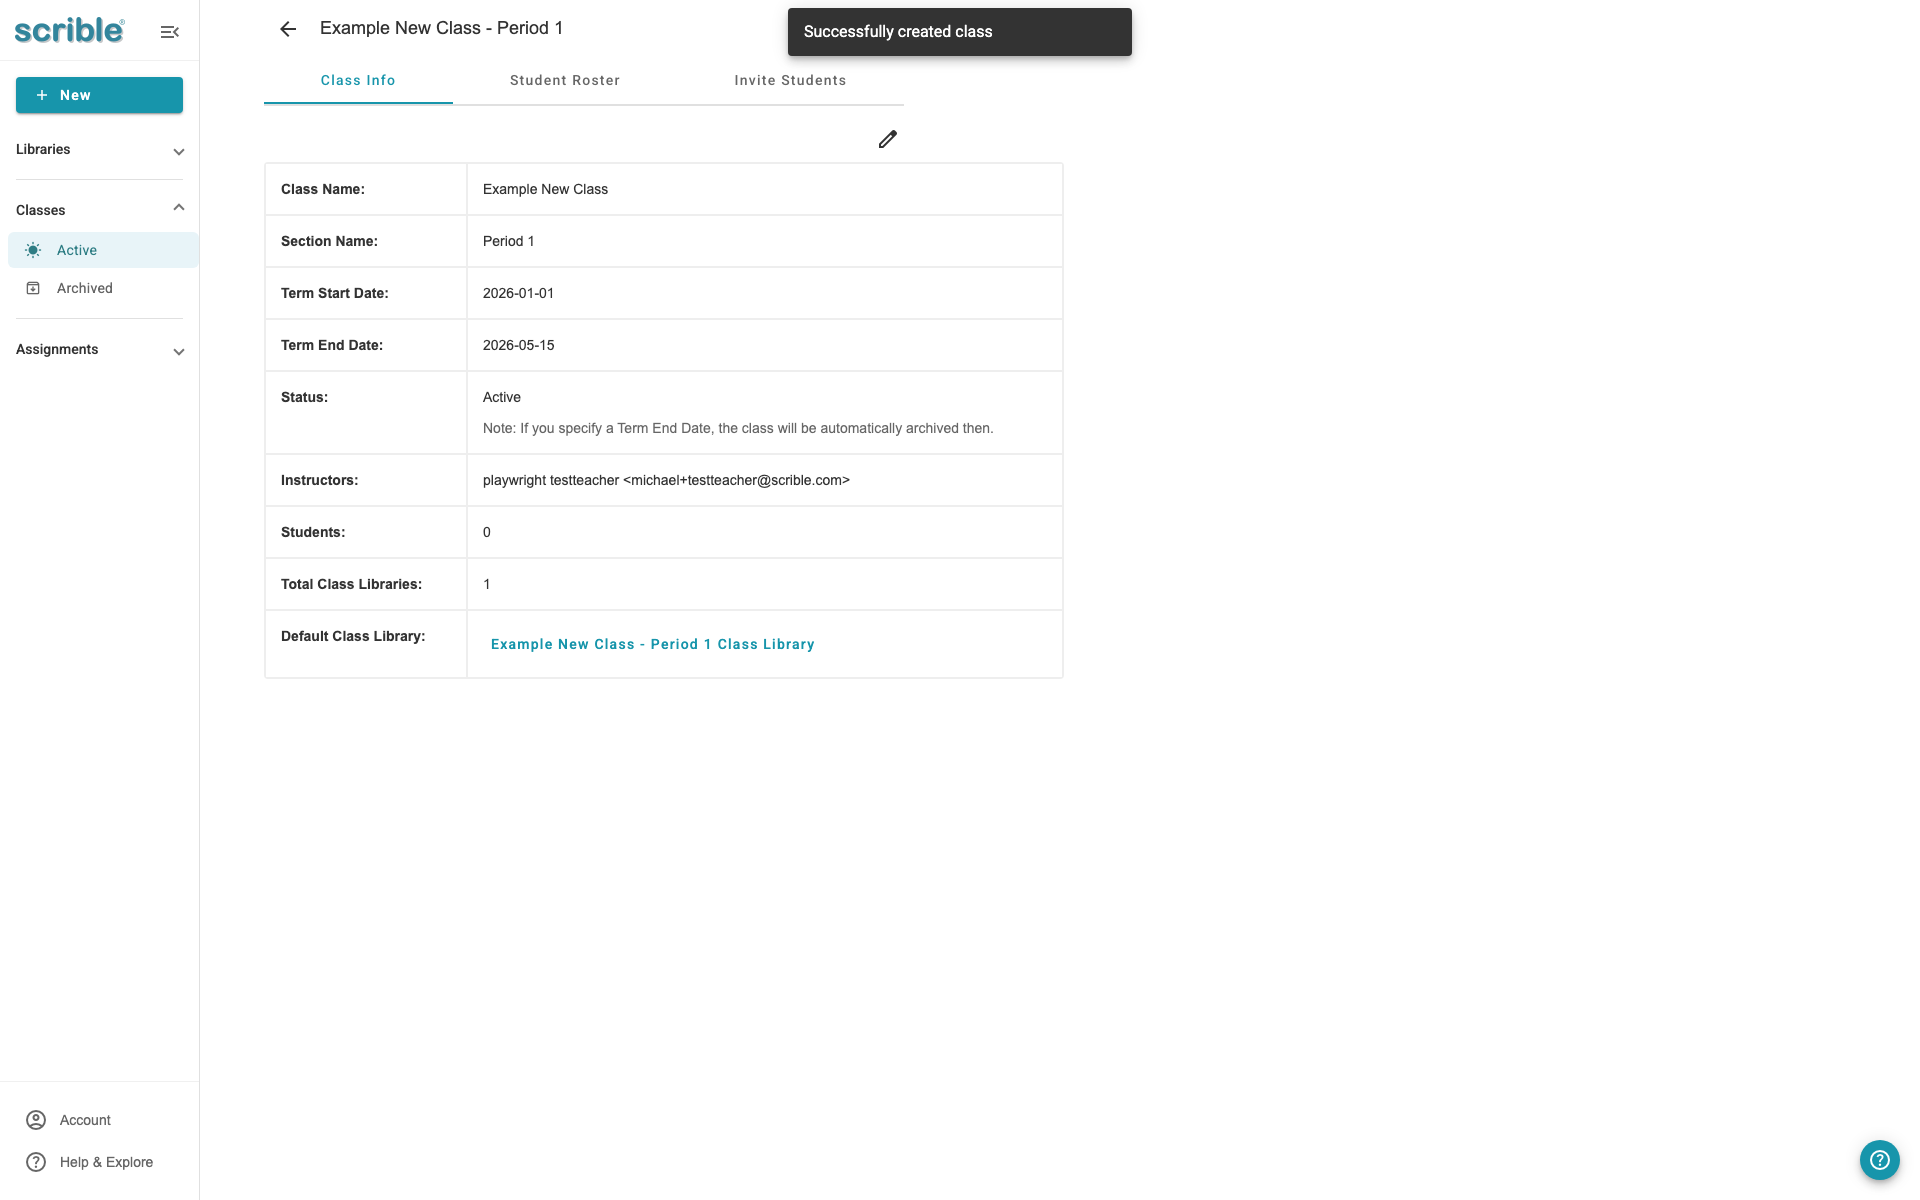
Your class is now ready. To add students, click the Invite Students tab and choose to invite students by email or share the class invite code.
Tips
Class invite codes: Each manually created class has a unique invite code that students can use to join. You can find this code on the Invite Students tab.
Class libraries: When you create a class, Scrible automatically creates a class library where you can share sources and assignments with your students.
Automatic roster updates: If you use roster sync, student rosters stay up to date automatically when you add or remove students in your learning management system.